

Are you an educator fascinated with creating videos that feature great content, are available on popular media sites (e.g. YouTube, Vimeo), and feature YOU as the chief learning strategist and interpreter? Did you know you can also link to a particular time in a video or add “hypervideo links” that students can click on while the video is playing? Then you may want to take a closer look at the following tools that make hypervideo linking and annotating videos possible. What is annotation?
With annotations you can layer text, links, and hotspots over your video. They help you enrich the video experience by adding information, interactivity, and engagement. Source: YouTube’s Create and Edit Annotations
Let’s take a look at why annotating and hypervideo linking are so important.
The Value in Creating Hypervideos
When educators (and students) take advantage of the power of video annotations and hypervideo linking, they make it possible to create a more engaged learning experience for the viewer. That’s important because:
Thus while video documents are now more and more openly accessible and available, and constitute a learning material of great pedagogical value, their potential is not always fully exploited (Hobbs, 2006). Bringing the learners to a more active attitude while watching video documents can be achieved through various pedagogical practices and tools (Bossewitch, 2011; Zahn, 2010; Schwan and Riempp, 2004). (Source)
As you might imagine, the more active video learners are while watching, the more they are likely to retain for application.
Exploring the Tools
Let’s explore some free tools you can use to create a more active approach for your students. At the end of this blog, there are also some additional video note-taking tools shared with links to more information.
Tool #1 – YouTube
Did you know that YouTube features built-in annotation tools that you can use on your computer (not mobile)? Google’s YouTube feature provides a variety of annotations, which they elaborate on at their website, including the following:
- Speech bubble: for creating pop-up speech bubbles with text. This will provide a comic book effect which will resonate with your students.
- Spotlight: for highlighting areas in a video. When the user moves his mouse over these areas, the text you enter will appear. This allows you to frame a spot on your video and emphasize something that is happening.
- Note: for creating pop-up boxes containing text. You can add a semi-transparent box.
- Title: for creating a text overlay to title your video. This adds a big, bold title to your video.
- Label: for creating a label to call out and name a specific part of your video. Similar to Spotlight, it will show text you have entered.
Tool #2 – EdPuzzle
Introduced to me by Paloma, a Fairfield ISD teacher, EdPuzzle.com is a free Chrome browser add-on (also get this EdPuzzle YouTube Chrome add-on that makes it easy to edit YouTube videos you encounter) that ensures creating videos is a breeze. EdPuzzle also allows you to include embedded assessment, enabling you to view your student’s’ performance on those assessments. Learners of any age can create their own videos, annotations, and assessments. Here are the steps according to EdPuzzle:
Take any video from YouTube, Khan Academy, Learn Zillion, etc. and make it perfect for your classroom and more engaging for your students. Make any video a true lesson by making it to the point, personal, and effective, plus get all the data about your students so you know if they truly understand the lesson. You can accomplish this by following these three steps:
Step 1:
Crop the video, using only what you need for your lesson.
Record your voice on top of it to explain it in your own personal way, add clarifications, a warm introduction, you name it.
Add quizzes along the video and check if your students truly understand the lesson.Step 2:
Assign it to your class/classes and let your students watch the video and answer the quizzes.Step 3:
Get meaningful data and insights about your students while they watch the video lesson or after they have completed it as homework. See at a glance how they are answering the quizzes and where in the video they are struggling to understand the concepts.
What’s more, EdPuzzle also has an iOS app you or your students can use, as described below:
For students, EDpuzzle provides an easier way to learn through video lessons outside of the classroom. Students can download the app and opt-in to receive video assignments directly with questions, so they can check their understanding through the video.
This is great for the blended learning classroom!
Tool #3 – VideoAnt
“VideoAnt is a web-based video annotation tool for mobile and desktop devices,” says the VideoAnt web site. You can “use VideoAnt to add annotations, or comments, to web-hosted videos.” The VideoAnt website allows you to login with your Google or Facebook account (to name a few), then enter the web address (URL) for a web-based video, such as one hosted by YouTube.
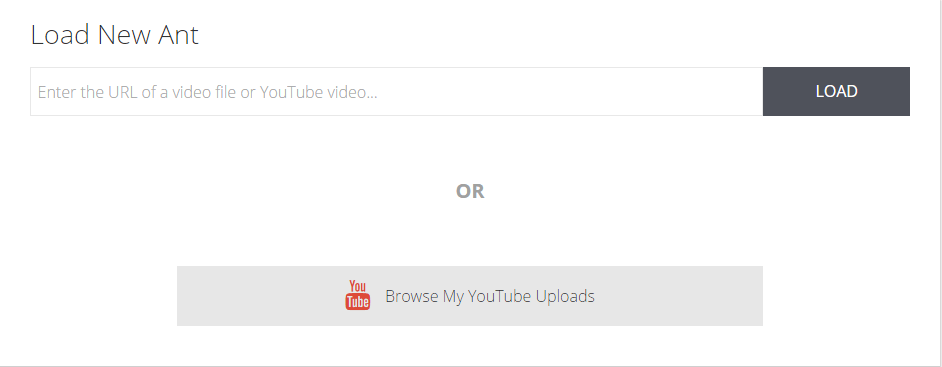
Once you have loaded a video, you are able to add annotations throughout. A neat feature about VideoAnt is that it makes it possible to share your video annotations with a group you create in the VideoAnt web site.
Tool #4 – Flipgrid.com
This website create a video-based discussion group, enabling you as the teacher to post videos that students can respond to (again, via video). The “grid” represents your virtual classroom space and comes with secure video conversations. You set the topic via a video you create and then students respond to your topic. As the teacher, you can create a special code that you can share with your students, as well as password protect the grid you have created. You also have moderator rights, preventing students from posting inappropriate content by previewing their video contributions prior to sharing with the whole group. You are also able to embed your video group on a we site. Here’s a quick overview of Flipgrid.
Looking for tools that allow your students to take notes about videos? Check out this blog entry by Richard Byrne. In it, he highlights these tools:
- VideoNot.es and TurboNote are two tools that allow you to take notes off to the side of the video.
- Vialogues, not unlike Flipgrid, allows you to create conversations that revolve around a video.
As you consider these tools for video annotation, note-taking, and hypervideo linking, ask yourself, “How could I combine these (a la app smashing) to get a new view or design? More importantly, how could my students use these tools to create academic content and/or reflections on what they are learning together?”