

Ready to learn some new Google Sites tips? If you’re like me, you’re ready to leave the “classic” Google Sites content in the past. You may need revised workflows for the new Google Sites. Find some tips on designing new Google Sites in this blog entry.
Tip #1 – Site Organization
The new Google Sites enjoys multiple levels of nesting (three at the time this blog entry was written). Create your overall hierarchy of pages, making those the top levels under which other pages will be placed.
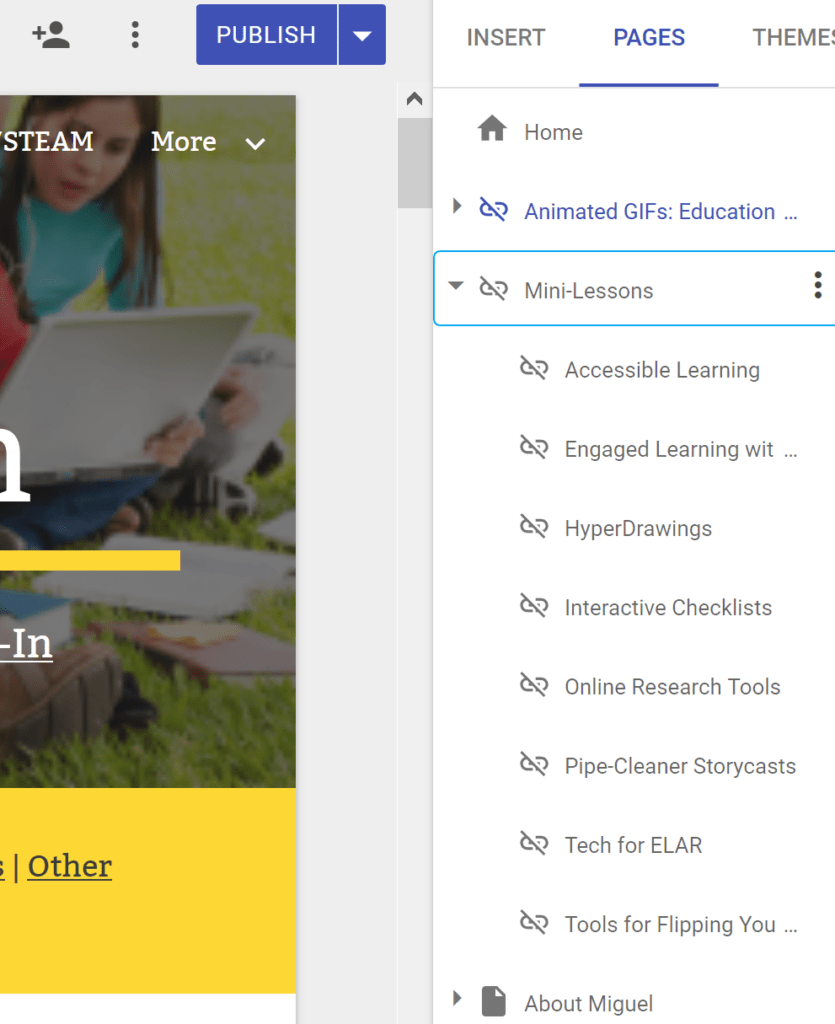
In this screenshot, you can see that “Mini-Lessons” is the section name or top level page. Beneath it are sub-pages.
For the purposes of this post, let’s call each top level page with a page or more beneath it a “section.” Each section page title becomes a part of the website address. Long, cumbersome names with dashes and ampersands may present readability problems. When naming your sections, keep the title to one word or compound word. In this way, you can keep your nested page addresses simple.

When organizing a Google Sites page with many nested pages in sections, you have the option of keeping sections in alphabetical order. This makes sense. It facilitates your navigation through the ever-scrolling Pages list in new Google Sites. However, don’t look for an “Alphabetize” button. You will have to maintain the alphabetical order of pages yourself. You can also, as shown in the image above, organize them for convenience sake.
Note that some section pages appear as pages with a corner turned down (viewable), while others are hidden from navigation (crossed out link). Let’s take a closer look at “Hide from Navigation.”
Tip #2 -Hide from Navigation
When working with lots of content, you need not show ALL the pages you have in a Google Sites. Instead of revealing every page, which results in long, unmanageable menu lists, only add the top level page of each section to your navigation bar. You can do this by selecting “Hide from Navigation” to all pages that are not section pages (top level).
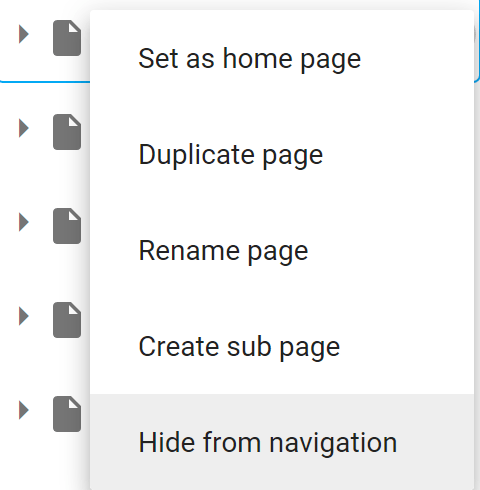
When you select the 3 dots (![]() ) that appear to the right of a page, you see the screen above. There are some useful options here that you can take advantage of. Let’s review them:
) that appear to the right of a page, you see the screen above. There are some useful options here that you can take advantage of. Let’s review them:
- Set as home page: Need to change your home page to reflect a conference or special event? You can use this option to set a particular page as your new temporary home page or “landing page.” This can be great when you want to encourage people to quickly find their way to your website. For example, if you go to http://tceamg.org, you will see my current home page. During a conference, I can set the home page to a tailored site (e.g. TCEA 2018 Convention). Visitors would see that page in lieu of my traditional page with my photo on it.
- Duplicate page: Have you set up your Sites page the way you want it to look and now wish you could make it the “template” for your sub pages? You have two choices. If you have content on the page, duplicate page to mirror the content on your source page, then make small changes to customize the new page.
- Rename page: Since naming is so important (the longer the page name, the longer the website address), you will want to rename a page once you duplicate it.
- Create sub page: The sub page makes a copy of the section page (a.k.a top level page) and applies the banner image or color to the new sub page. This can be a time-saver, especially when you have an image banner for the title.
Consider hiding a page from navigation when you need to deny access to others. While content can still be searched for, it is more difficult.
Tip #3 – Add New Content in Sections
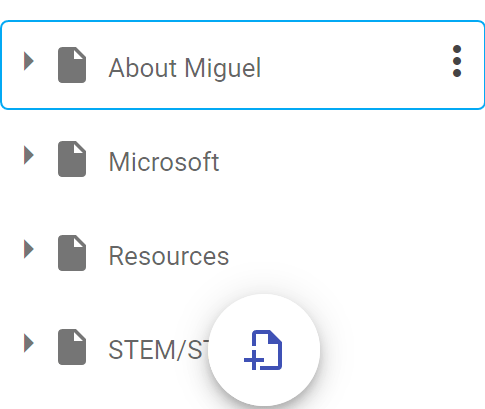
Ready to add content to your new Google Sites page? The symbol with the page and plus sign make adding content easy. While I would rather duplicate a page or create a sub page since it places the page in your hierarchy of pages, you can use the add page symbol. The add page symbol will place your new page at the bottom; then you will need to drag it up to place it in the right section. To save time, add content in the appropriate section.
Did You Know? Avoid scrolling to find pages to link to. When creating work on a new Google Sites page that links to other pages, you will find yourself scrolling through many pages to find the pages to link to, even if you have everything organized in sections. One way to minimize scrolling involves temporarily moving the section to immediately beneath the Home page. This eliminates scrolling through all the other content in your Sites website without changing the website address for that section or nested pages. When done, you can move the section to where you had it before (in alpha order, for example).
For example, is it Apple, Google, or Microsoft content? Maybe it’s a workshop or webinar. Map out your Google Sites ahead of time, if possible. More suggestions for adding content:
- Create a standard banner for your sections. This assists visitors to a site to recognize their location in a section. For example, I have a standard image that I use for all my Mini-Lesson pages. These pages provide step-by-step instructions on how to accomplish a task.
- Embed content from other sites. Have a video? Put it on YouTube or Google Drive, then paste the link while viewing the page. This will make adding video content easy. Use Padlet? Take a snapshot of your Padlet and then link the image, as well as referring text, to the Padlet.
- Copy-and-paste content across Sites. You can copy-and-paste content from one new Sites to another in sections. The trick to this is ensuring the site has been shared with you. If not, you will encounter permission errors with images (image will fail to upload). This makes copying entire sections (which appear highlighted in blue when selected, as shown below) of a Google Sites (Google Suites for Education) to a personal Google Sites (or vice versa) an easy process.
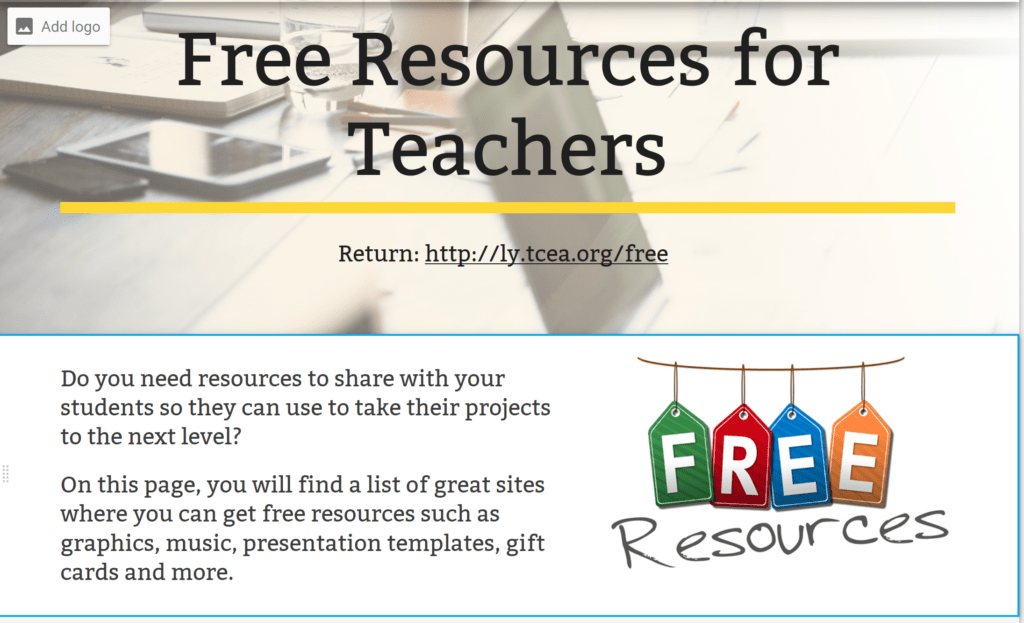
Note the blue outlined content block (where Free Resources image appears) can be copied and pasted with Ctrl-C and Ctrl-V, respectively.
As with any web page, remember to keep your images small in size. You can usually resize a picture, then take a screenshot to make it smaller. On Windows, I like to use PixResizer program to get images down to quick loading size.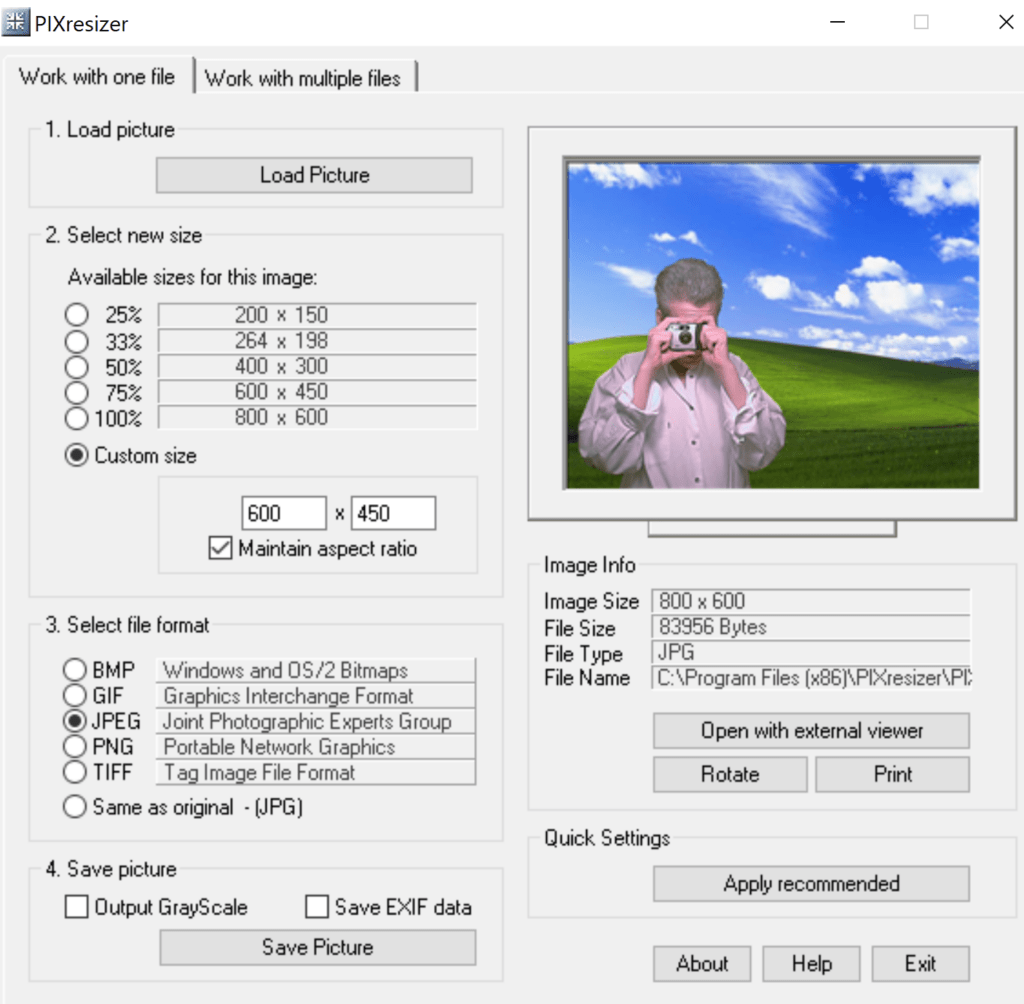
Google Sites Tips
There are many more new Google Sites tips forthcoming. What are some of the ways you have found to streamline your workflows in the new Google Sites?