

Looking for a fun way to introduce STEM projects to students? Try blending green screens into your STEM DIY projects. Let’s take a quick look at a few ways your students can do that.
Wait, What’s Green Screen?
Before we jump into green screen projects customized for STEM, let’s review what green screens allow you to do.
A green screen allows you to display video or images of far-away places. At the same time, you can have students in your classroom speak to what is displayed in those images or videos. Think of the local television news weather personality. To get started, you will need a screen solution (e.g. the right shade of butcher paper, a $.99 green tablecloth from Dollar Tree, or green cloth) and one of the apps below. If you have an iOS device, the best app on the market is Green Screen by Do Ink, although you can accomplish even more with Touchcast. (source)
Want to see some practical examples of green screen in the classroom? Visit my “Go Green” resources page where I curate amazing examples. Oh, and don’t forget to follow the @doinktweets folks, who make the best, low-cost green app for iOS devices.
Finally, newbies may also want to check out this TCEA TechNotes blog entry, Four Tips for Green Screen in the Classroom. Then take it up a notch with Tricia Fuglestad’s classroom projects and how-to guides.
Let’s take a closer look at some ideas for STEM Do It Yourself (DIY) projects you can take to the next level with green screen magic. What’s more, you can add the “A” to STEAM, blending art and language arts.
STEM DIY Project #1: Digital Diorama with “Real” Windmill
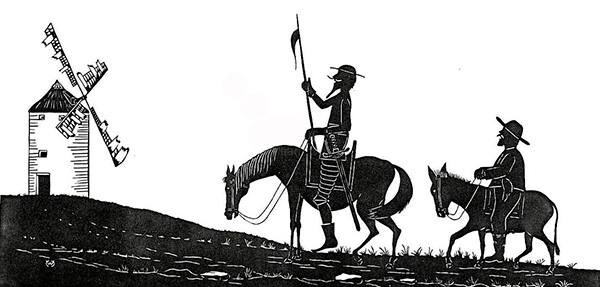
“”Now look, what you see over there aren’t giants, but windmills, and what seems to be arms are just their sails, that go around in the wind and turn the millstone,” says Sancho Panza in Miguel de Cervantes Saavedra’s tale of The Ingenious Nobleman Sir Quixote of La Mancha.In 2016, Texas surpassed “its all-time record for wind energy production, with wind providing 45 percent” (that’s 13.9 gigawatts of electric power!) of the state’s total electricity need (source). Wind energy jobs are in demand. Why not introduce a bit of art, culture, and wind energy?
Kids act out little segments of “Don Quixote” so they learn a little bit of culture through drama, through art. Source: TEKS for LOTE
The Exploratorium website features the Light Wind STEM project. In this example, you gather components to create a small windmill. The wind will make the windmill blades, generating power to light an LED. You can watch this video below and access all the details online. You will also need various materials, including a small hobby motor (about $7.00) and a red LED light (approx $4.00 for a pack of 50).
Green Screen Adaptation
A simple green screen adaptation could include decorating the DIY windmill for rustic times and then acting out the story of Don Quixote. This can be as fun as you and your students want to make it. Each student group could make their own windmill, then set up a joust with Don Quixote. You can use green string or thread to “animate” impromptu puppets. Or check out this green slinky approach to motion. You can use pipe cleaner people (watch this video on how to create a 3D pipe cleaner person). Another approach involves using crayons/markers and paper to create paper people. Then perch those on green-colored craft sticks (get 50 for $2.75).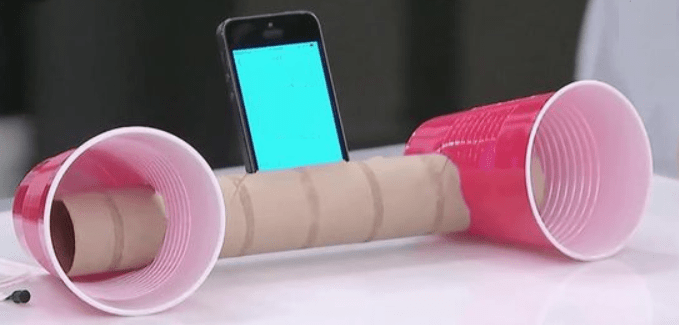
STEM DIY Project #2: Explore Properties of Sound
When the battery on my bluetooth speaker died, I despaired at being able to hear the sound from my tiny smartphone speaker. Then I remembered an old trick of cutting out a Styrofoam or cardboard cup (hmm, which works better?) large enough to fit my phone into. In this DIY project, students can explore the properties of sound. They create their own speaker system for a smartphone or mobile device. Create a paper person and place them directly in the cup’s opening. This will allow them to be impacted by the focused sound waves and will result in their motion. Of course, the figures might also be susceptible to wind and light breezes.
Green Screen Adaptation
The twist is, of course, that both the cups and tube are painted or colored to the appropriate shade of green (including the insides of the cups). This will make it appear as both paper characters are having a conversation, moving in sync.
STEM DIY Project #3: Making in Motion
Did you participate in past TCEA Makers events? Take making to the next level with “engineers in motion.” You can take popular fairy tales and engineer them (e.g. Three Little Pigs, mini-siege engines) using inexpensive materials, creating videos of their design process and sharing them via Seesaw. Don’t know much about makerspace basics? You can read this blog entry series and read free ebooks on makerspaces from TCEA and Makerspaces.com.
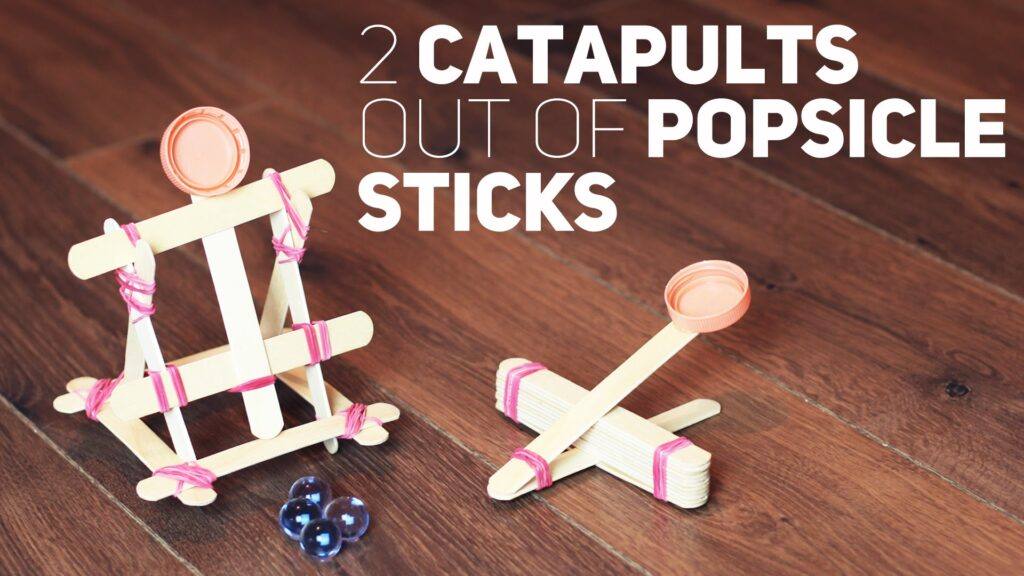
In this activity, you can pull artwork for your students’ fairy tale and act it out in front of a green screen. Instead of having the wolf blow down each house, have the wolf use a popsicle stick catapult.
Green Screen Adaptation
Similar to the Don Quixote activity, have students create characters and the three little pigs’ houses to reflect the elements of the familiar story. But make your wolf an engineer with a hurt paw who has learned to make catapults. Then students can test the strength of their houses using the wolf’s catapult.
About the Engineering Design Process
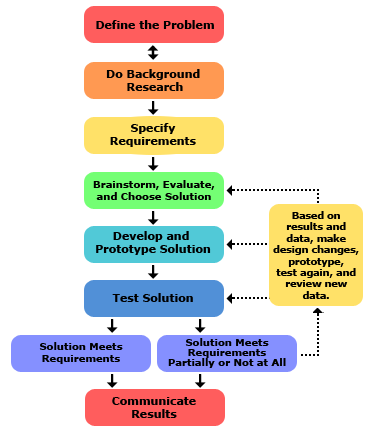
Wondering about how the engineering design process is different from the scientific method? The EDP involves a series of steps that designers follow. Their end goal is to come up with a solution to a problem. This often means designing a product that meets certain criteria and/or accomplish a certain task. It’s different from the Scientific Method. Here’s an easy way to tell them apart:
- Scientific Method: Make observations and do experiments
- Engineering Design Process: Your project has you designing, building, and testing how it works
Need more information? Read Science Buddies’ Comparing the Engineering Design Process and the Scientific Method.
Capturing Student Projects
Now that you have three STEM DIY projects with green screen, make it a simple matter to capture student work. Have students drop their green screen video creations into Seesaw. Once students have submitted their videos into Seesaw, you can require them to leave their reflections on their own engineering design process.